TouchLens · Embedded robotics
A gripper you can control and inspect.
I'm building a tactile gripper around an ESP32 and a servo-driven mechanism. I've assembled and tested the actuator, debugged its I2C wiring, and tested an FSR402 sensor on a breadboard. BLE firmware and a browser controller are prepared for the next round of testing.
How the system connects
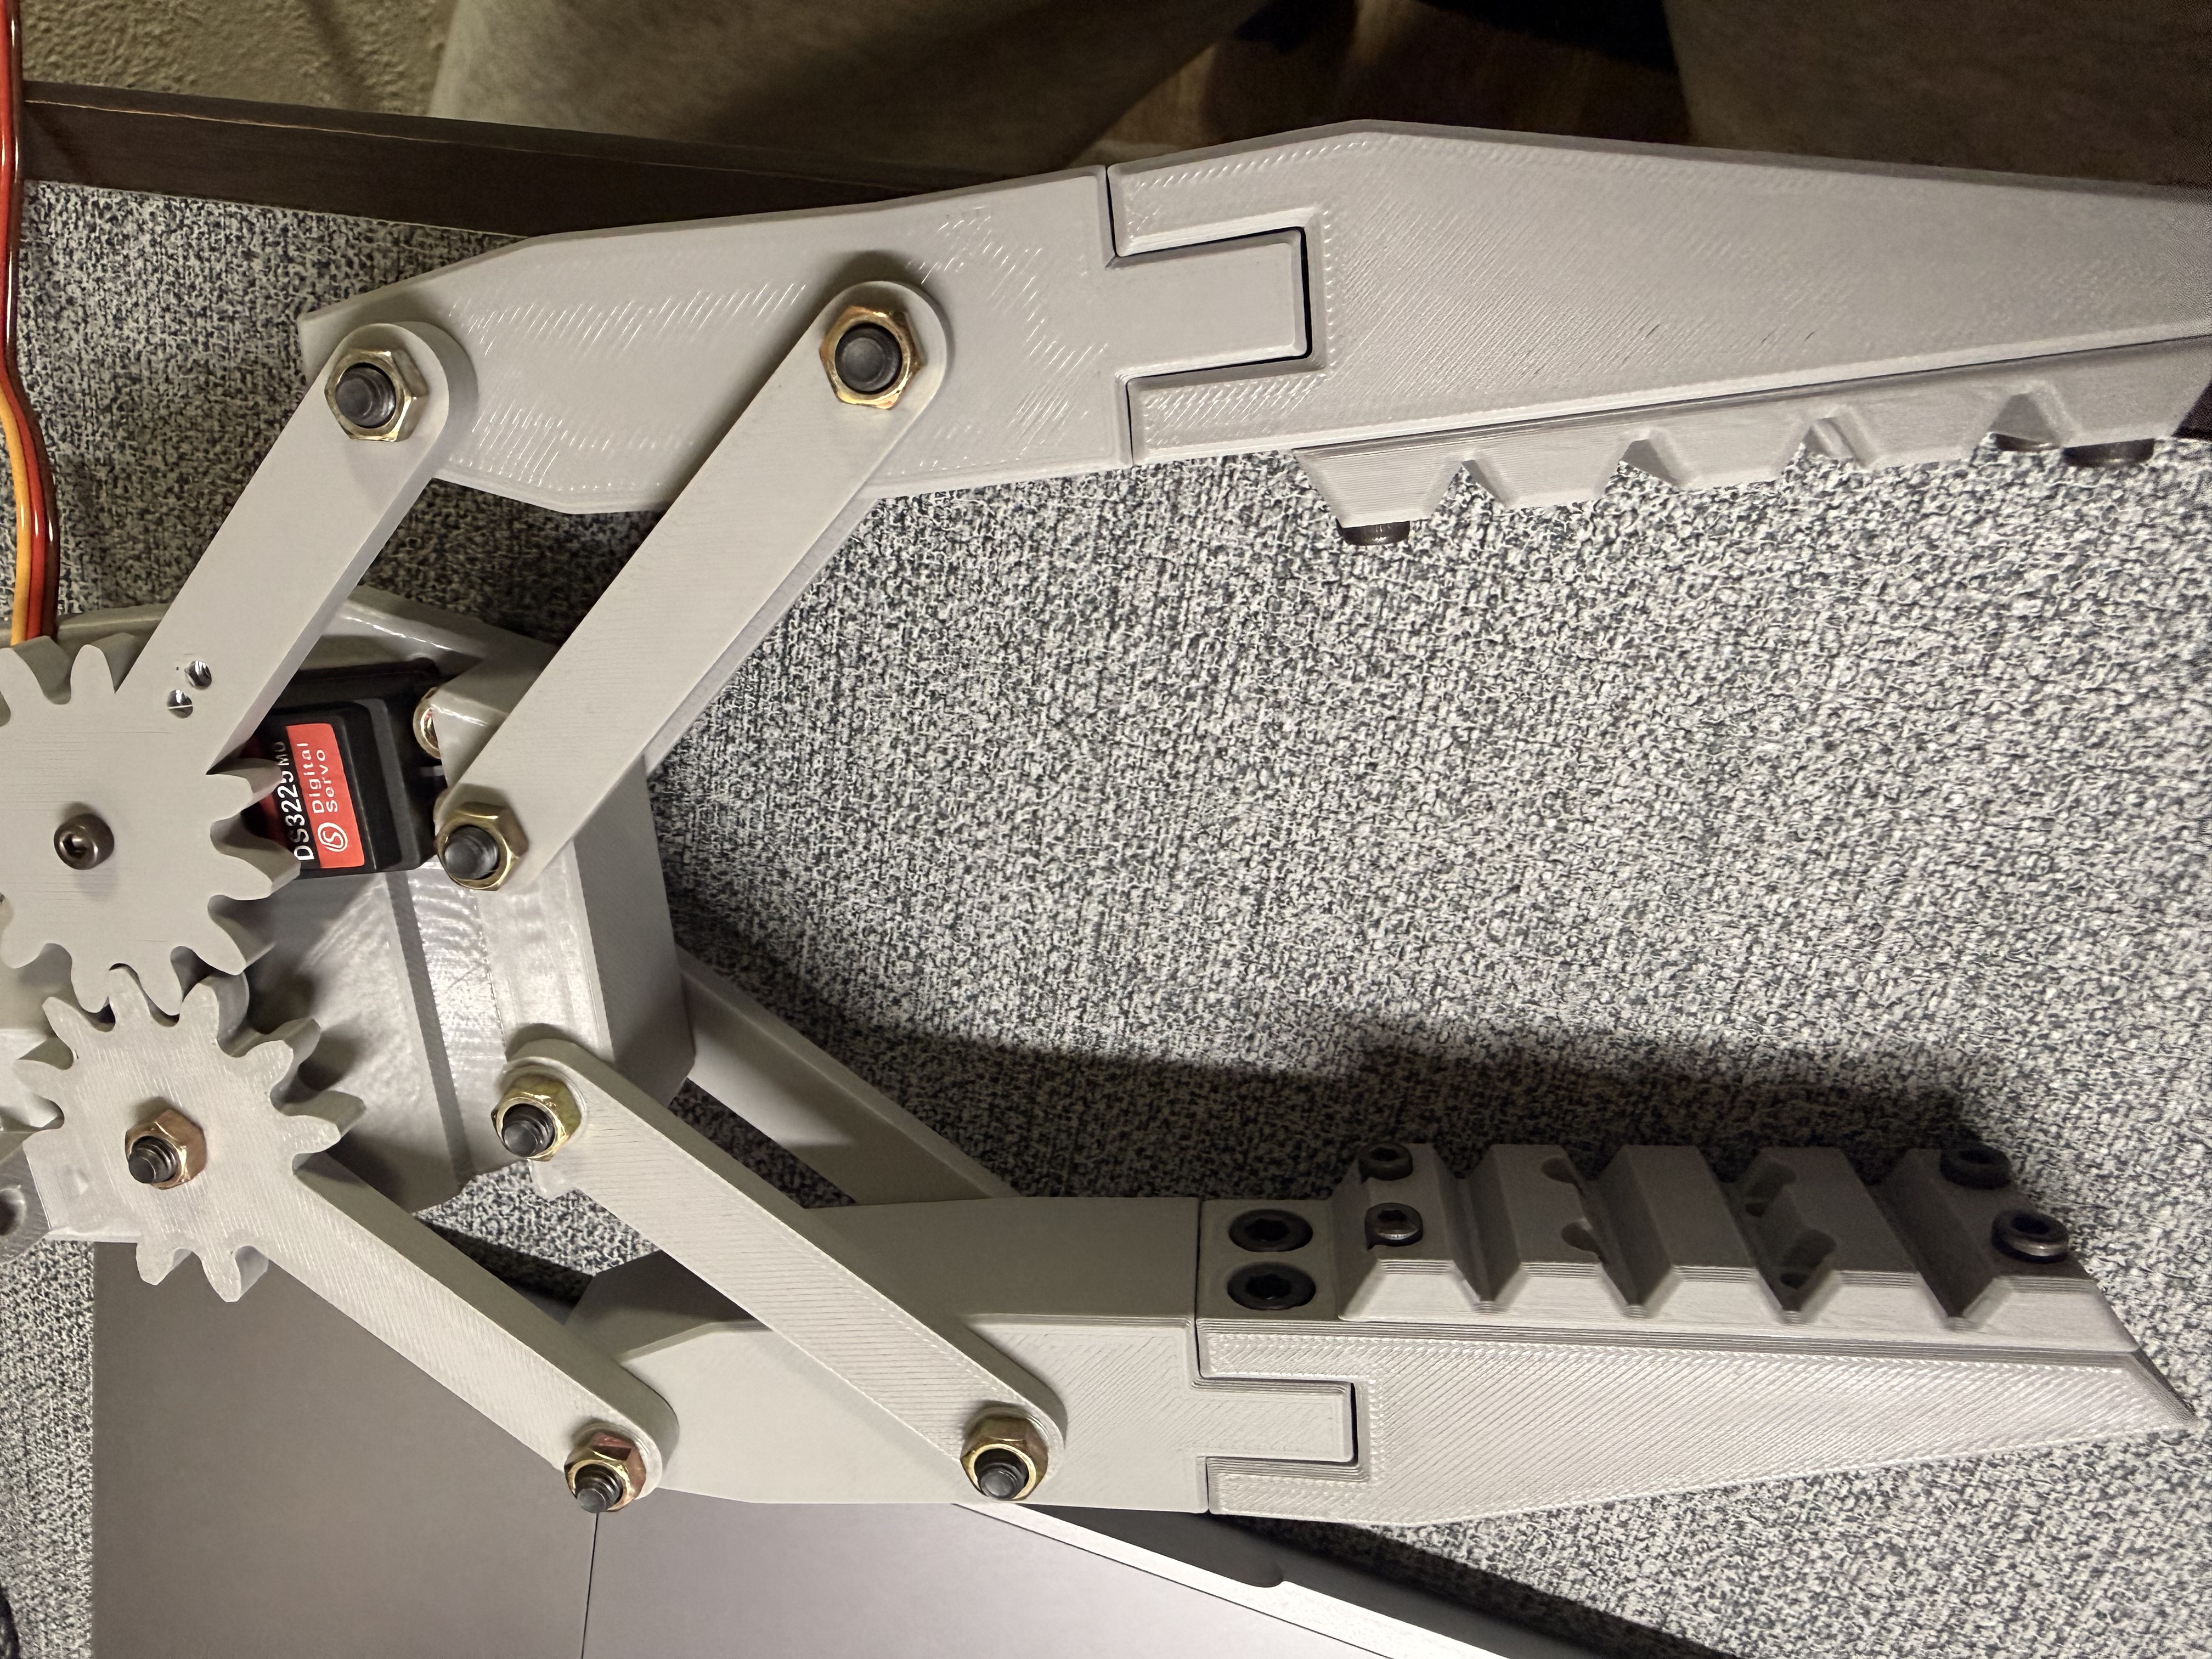
I used Nikodem Bartnik’s 3D Printable Modular Robot Gripper as the mechanical starting point. My contribution is the assembly, system integration, control firmware, and bench testing.
- CommandsBrowser BLE controller
Prepared interface for position, hold, and PWM release; hardware connection test pending.
- ControlESP32
Command handling and sensor readings.
- ActuationPCA9685 + servo
I2C commands drive PWM output.
- SensingFSR402 + 10 kΩ divider
Breadboard-tested sensor; firmware includes raw ADC telemetry.
What I built and tested
- Assembled the gripper using an existing mechanical design and connected an ESP32, PCA9685 driver, and DS3225MG servo with a separate 5 V supply.
- Diagnosed an initial no-motion fault with an I2C scan. Correcting the control wiring made the PCA9685 respond at address 0x40, then the servo moved successfully.
- Tested the bare mechanism across PWM counts 120–350 and tested an FSR402 separately using a 10 kΩ divider on GPIO34.
- Prepared BLE command handling and a browser controller for position, hold, PWM release, and raw sensor readings. End-to-end BLE testing remains pending.
Firmware decisions
The firmware starts the gripper in an open position, constrains commanded pulse values, and drives the servo through the PCA9685 over I2C. BLE write commands control the actuator, while notifications report FSR readings and commanded state.
The FSR uses a 10 kΩ voltage divider on GPIO34 and 12-bit ADC readings. The code averages ten samples and schedules telemetry every 200 ms. These are raw sensor readings, not calibrated force measurements; actual communication timing has not been measured.
Current development stage
Next, I'll mount the FSR with a foam contact layer, measure its no-contact baseline, and record first-contact and gentle-grip readings. Then I'll test the BLE controller and use the measurements to develop automatic contact stopping.
Pulse 350 is the documented open position; 120 was tested only with the bare mechanism. The closing limit must be measured again after adding the sensor and foam. Pulse 250 is an initial test setting, not a validated force threshold.
The Days 1–2 notebook records wiring, debugging, servo tests, and breadboard sensing. Day 3 lists planned experiments. Source and test notes are available on request while the repository remains private.
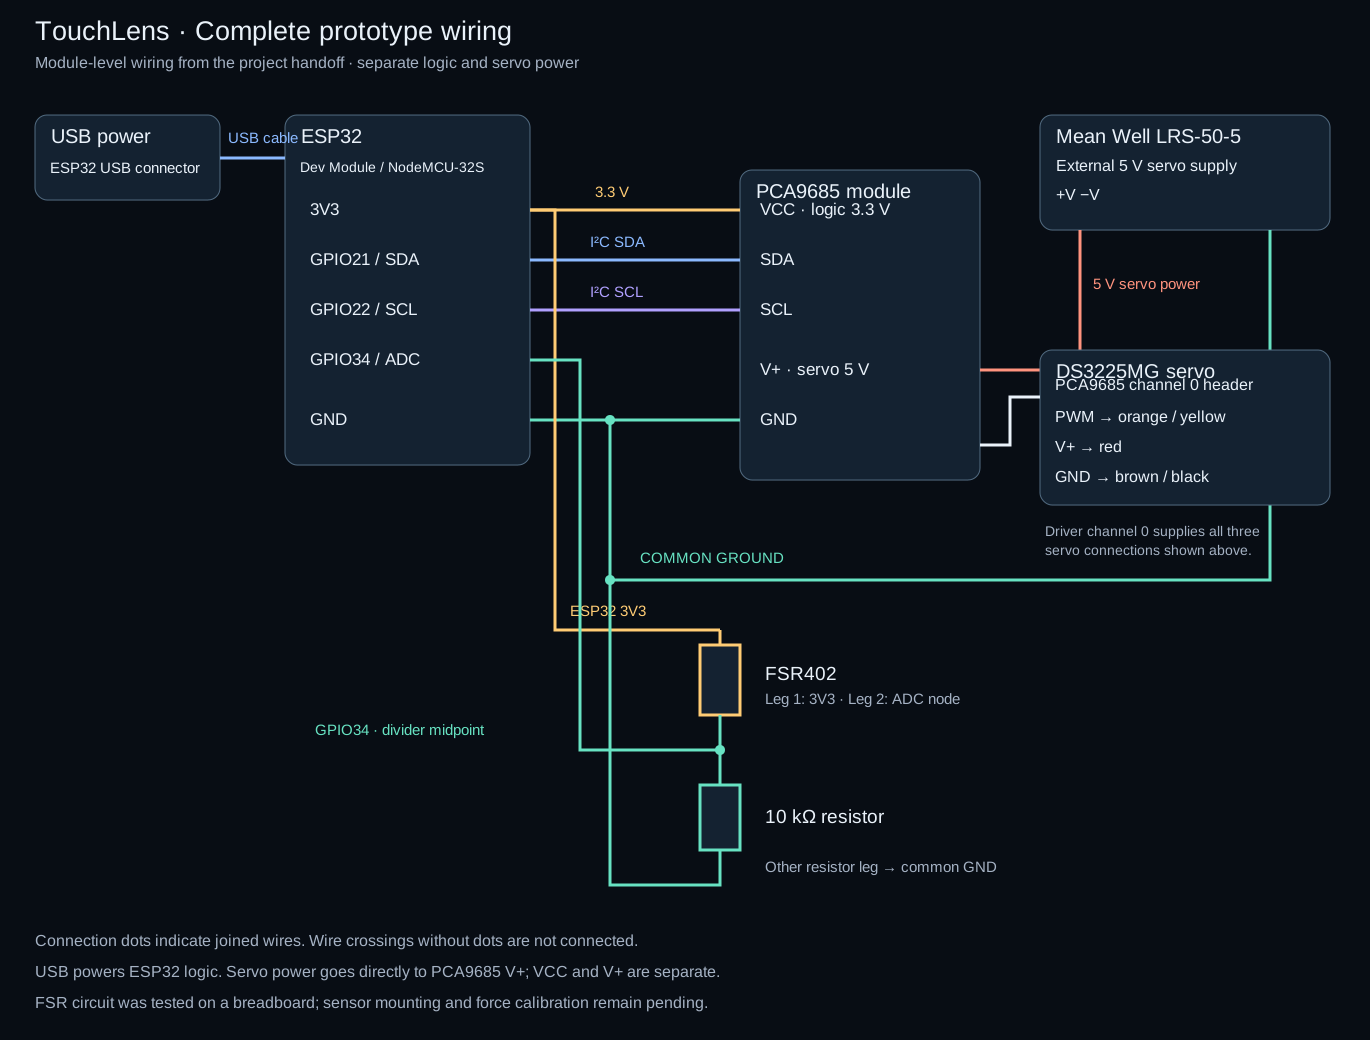
Complete prototype wiring
USB powers the ESP32 logic, while a separate 5 V supply powers the servo through the PCA9685. I²C carries actuator commands. The FSR402 and 10 kΩ resistor form a voltage divider for GPIO34, with a shared ground across the system.
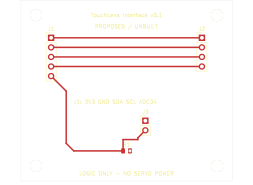
A proposed interface PCB Unbuilt
This new KiCad layout translates the prototype wiring into a small board connecting an external ESP32, PCA9685 module, and force sensor. The servo uses a separate power connection. It's a proposed revision prepared with coding assistance; fabrication and bench testing are still pending.
Want the source or test notes?
The repository is private for now—happy to share details on request.